Art Digitization Method Selector
Not sure whether to use a flatbed scanner or your smartphone? Answer these three questions to get a tailored recommendation based on professional digitization standards.
Make Selections
Choose options on the left to see your recommended digitization method.
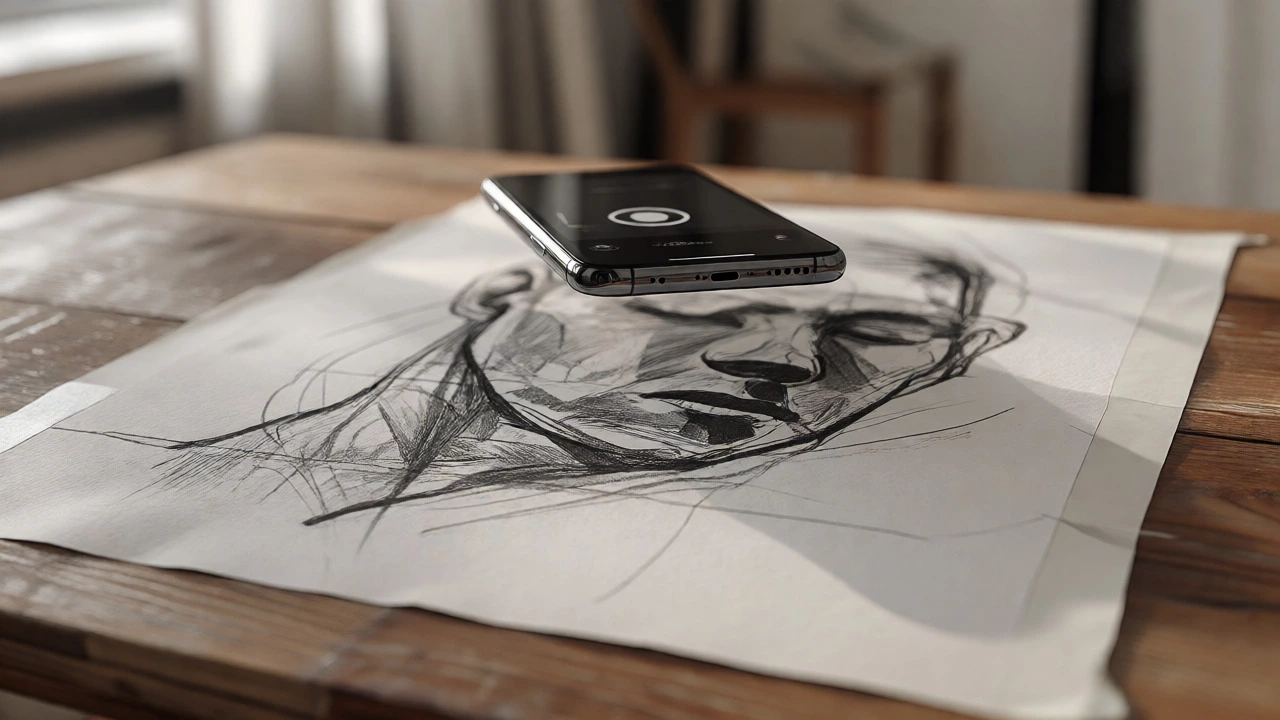
You just finished a sketch. It’s on paper, maybe in ink or graphite, and it looks great. Now you want to put it on Instagram, sell prints, or animate it. But how do you get that physical piece into your computer without losing the texture, the line weight, or the soul of the drawing? The short answer is yes, you absolutely can take a picture of a drawing and make it digital. In fact, for many artists, this is faster than using a flatbed scanner.
But here is the catch: a bad photo makes your art look muddy, tilted, and washed out. A good photo (or scan) preserves every detail. Whether you are a hobbyist doodler or a professional illustrator preparing assets for Digital Art, knowing the difference between a quick phone snap and a proper digitization workflow saves you hours of cleanup later.
Scanning vs. Photographing: Which Method Wins?
This is the first fork in the road. Most people assume scanning is always better. It isn’t. It depends on what you are digitizing.
Flatbed Scanners are ideal for small, flat works like pencil sketches, watercolors on smooth paper, or comics pages. They provide even lighting and perfect geometry. If your paper is slightly warped, however, a scanner might miss focus in certain areas because the depth of field is shallow.
Smartphone Cameras, specifically those with 12MP or higher sensors found in modern iPhones and Androids, have caught up significantly. For large canvases, textured paper, or three-dimensional elements like collages, photography is often superior. You control the angle, the light, and the distance. Plus, you don’t need to buy hardware.
| Feature | Flatbed Scanner | Smartphone Camera |
|---|---|---|
| Best For | Small, flat, smooth paper | Large art, textured paper, 3D collages |
| Lighting Control | Fixed (often too harsh) | Total control (natural or artificial) |
| Resolution Potential | High (600-1200 DPI standard) | Very High (depends on megapixels) |
| Distortion Risk | Low (if glass is clean) | Medium (requires careful alignment) |
| Cost | $100 - $500+ | Free (if you own a phone) |
Step-by-Step: How to Photograph Your Drawing Properly
If you choose the camera route-and honestly, for most modern workflows, I recommend starting here-you need to set up your shot correctly. Do not just hold your phone over the desk and click. Here is the exact process I use when digitizing client work in Wellington studios.
- Stabilize the Art: Tape your drawing down to a board or wall. If the paper curls, flatten it under a heavy book for an hour before shooting. Any movement creates blur.
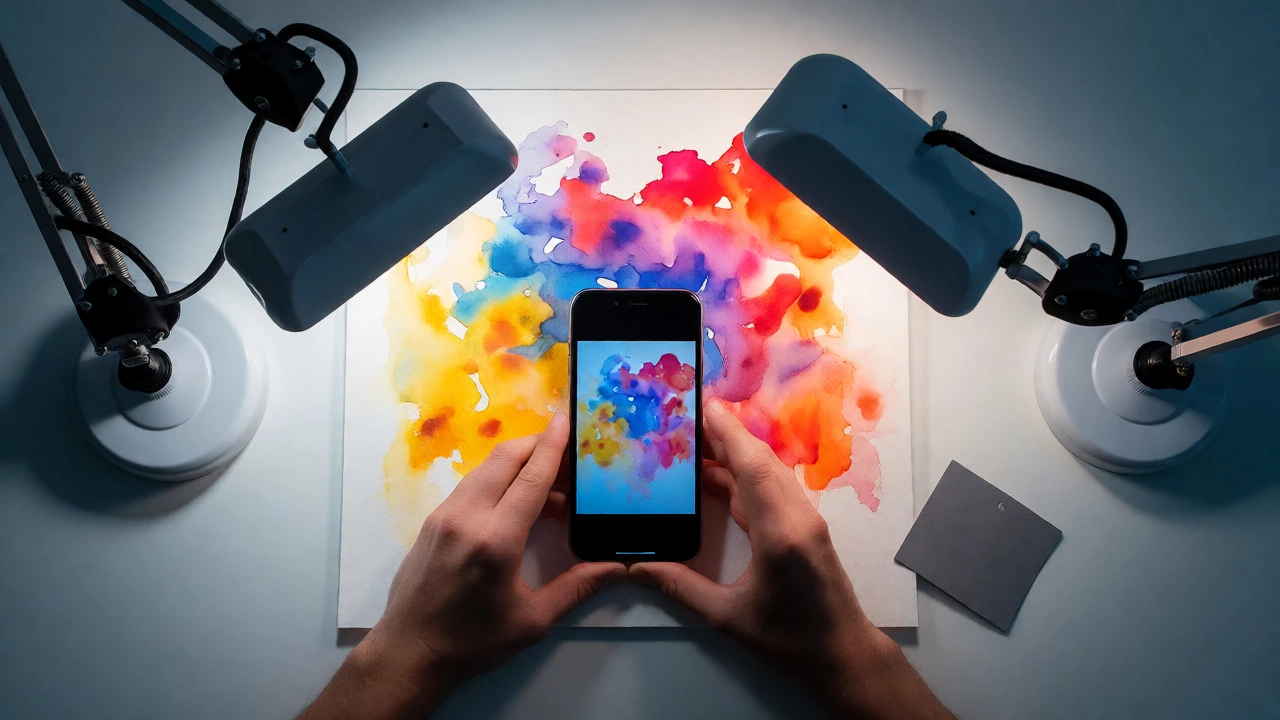
- Control the Light: This is critical. Avoid direct sunlight, which casts hard shadows and changes color temperature as clouds pass. Instead, use indirect natural light from a window, or two lamps placed at 45-degree angles on either side of the artwork. This eliminates glare on glossy papers.
- Align the Camera: Hold your phone parallel to the paper. Not tilted forward, not backward. Parallel. Use the grid lines on your camera app to ensure the edges of the paper align with the screen edges. If the paper looks like a trapezoid, your perspective is wrong.
- Focus Manually: Tap the center of your drawing on the screen to lock focus. Then, lower the exposure slider slightly (drag the sun icon down). This prevents white paper from looking blown out and preserves subtle pencil strokes.
- Shoot RAW if Possible: If your phone supports Pro mode or RAW capture, use it. JPEGs compress data and lose detail in fine lines. RAW files keep all the information for editing later.
Cleaning Up the Image: The Digital Darkroom
You have your file. Now it probably looks grayish, has a shadow in the corner, or includes the edge of the table. You need to edit it. You don’t need expensive software; free tools like GIMP or Photopea (which runs in your browser) work perfectly.
Start by cropping. Cut out everything that isn’t the artwork. Next, fix the perspective. Most editors have a "Perspective Crop" or "Transform" tool. Drag the corners until the paper forms a perfect rectangle. This corrects any slight tilt from your camera angle.
Now, tackle the background. Paper is rarely pure white; it’s usually off-white or cream due to lighting. To make it look like a digital canvas, increase the brightness and contrast. Move the "White Point" slider until the background turns crisp white. Be careful not to erase faint pencil lines. If your drawing is dark ink, you can safely push the contrast harder. If it’s light graphite, be gentle.
Finally, check for noise. Low-light photos often have grainy specks. Use a basic noise reduction filter, but keep it low. Too much smoothing makes your art look plastic and fake.
Handling Color Accuracy
Colors lie. Your phone camera sees colors differently than your eyes, especially under indoor lighting. If you are selling prints, this matters. A blue sky in your drawing might come out purple in the photo.
To fix this, place a neutral reference object next to your art during the shoot. A white sheet of printer paper or a gray card works well. After taking the photo, use the eyedropper tool in your editing software to select that white area. Set it as the "White Point." This tells the software, "This should be white," and adjusts the rest of the colors accordingly. It’s a one-click fix that dramatically improves fidelity.
For watercolorists, remember that wet paint shifts color as it dries. Always digitize after the painting is completely dry. Wet reflections will confuse your camera’s auto-exposure and create hotspots that are impossible to remove later.
From Photo to Vector: Making It Scalable
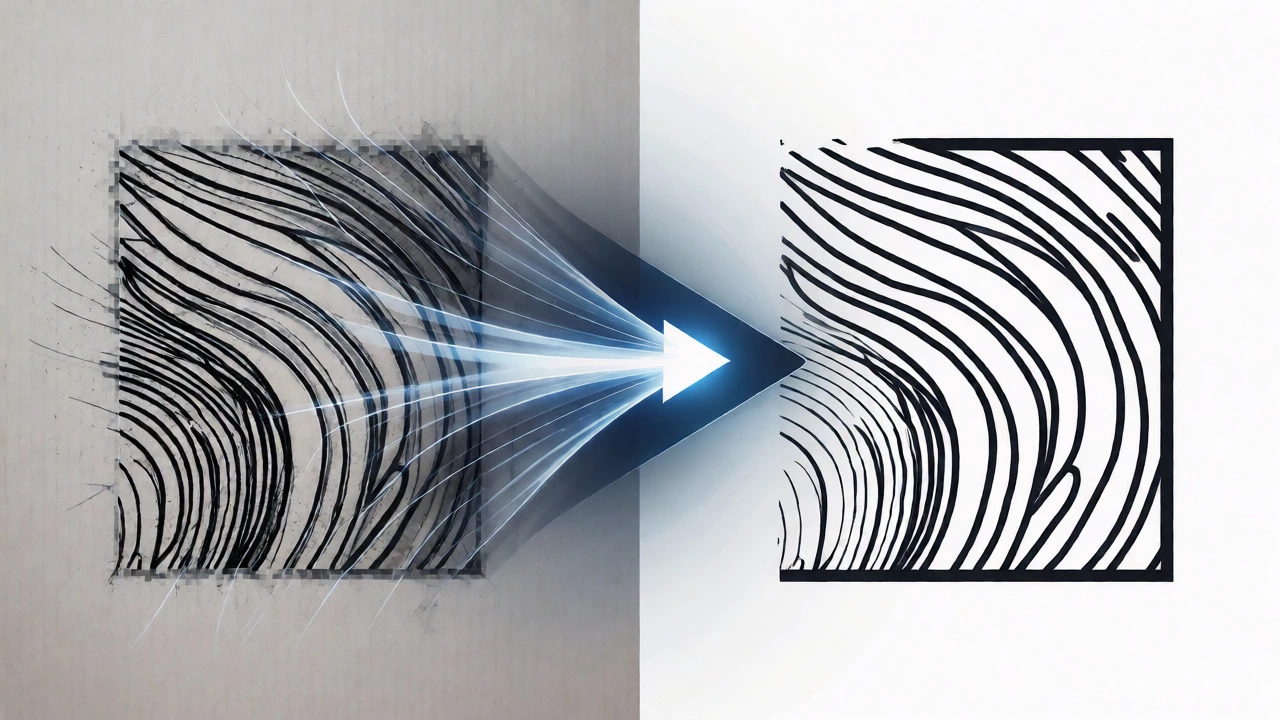
A photograph is a raster image-it’s made of pixels. If you zoom in, it gets blurry. If you want to print your drawing on a giant banner or turn it into a logo, you need a vector image. Vectors use math equations for lines, so they stay sharp at any size.
You can convert your cleaned-up photo into a vector using software like Adobe Illustrator (with its Image Trace feature) or free alternatives like Inkscape. Import your black-and-white scanned line art into the program. Run the trace function. Adjust the threshold until the lines match your original drawing. Clean up any stray dots manually. Now you have a scalable digital asset ready for merchandise, tattoos, or web icons.
Common Pitfalls to Avoid
I’ve seen countless artists ruin their digitization efforts with simple mistakes. Here are the big ones:
- Using Flash: Never use flash. It flattens the texture and creates a bright hotspot in the center while leaving the corners dark.
- Ignoring Shadows: If you shoot indoors with overhead lights, your hand or body might cast a shadow on the paper. Check the corners carefully.
- Saving as Email Attachments: When sending files to printers, avoid email compression. Send via cloud links or USB drives. Compressed JPEGs lose quality repeatedly.
- Over-Sharpening: Adding sharpening filters can enhance edges, but too much creates halos around lines. Keep it subtle.
Tools of the Trade
You don’t need a $500 scanner to start. Here is a minimal kit for high-quality digitization:
- Camera: Any smartphone from the last 3 years.
- Lighting: Two adjustable LED desk lamps with dimmers.
- Software: Adobe Photoshop (industry standard), GIMP (free), or Snapseed (mobile).
- Storage: External hard drive or cloud backup (Dropbox/Google Drive) to store high-res masters.
Remember, the goal isn’t just to have a file. It’s to preserve the integrity of your work. A poorly digitized drawing loses value. A well-digitized one opens doors to galleries, online shops, and social media growth. Take ten minutes to set up your light and angle properly. Your future self will thank you when you’re printing posters or updating your portfolio.
What resolution should I aim for when digitizing art?
For standard printing and high-quality digital display, aim for at least 300 DPI (dots per inch). If you plan to print large banners or posters, try to capture images with enough pixel dimensions to maintain clarity at larger sizes, often requiring 600 DPI or higher for detailed line work. Smartphone cameras typically produce images far exceeding this requirement if used correctly.
Can I use my phone instead of a scanner?
Yes, absolutely. Modern smartphones have excellent lenses and sensors. For large artworks, textured paper, or pieces that cannot fit under a scanner lid, a phone camera is often superior. The key is controlling lighting and keeping the camera parallel to the surface to avoid distortion.
How do I remove the paper texture from a digital image?
You can reduce texture visibility by increasing contrast and using levels adjustments to push the background to pure white. However, some texture adds authenticity. If you want a clean digital look, use a "Despeckle" or noise reduction filter in software like Photoshop or GIMP, but be careful not to blur fine details.
Is it better to scan or photograph watercolor paintings?
Photography is generally better for watercolors. Scanners can struggle with the uneven surface of wet-strength paper and may introduce banding or color shifts. Photography allows you to manage reflections and capture the true vibrancy of the pigments, provided you use diffused lighting to avoid glare.
What file format should I save my digital art in?
Save your master copy as a TIFF or PNG to preserve lossless quality and transparency options. Use JPEG only for final sharing on social media or websites where file size matters, as JPEGs compress data and can degrade quality over multiple edits.